A design is an assembly of pictures, fonts, and shapes. Blending these elements together will help you communicate the right message to your audience. That's why Picmaker has tons of options to arrange your designs and make them look professional. In this video, learn how to arrange your design elements in different ways
Here are the steps to arrange your objects and pictures on your design
Select
Select the object/ picture you want to add to your design, by clicking on it.
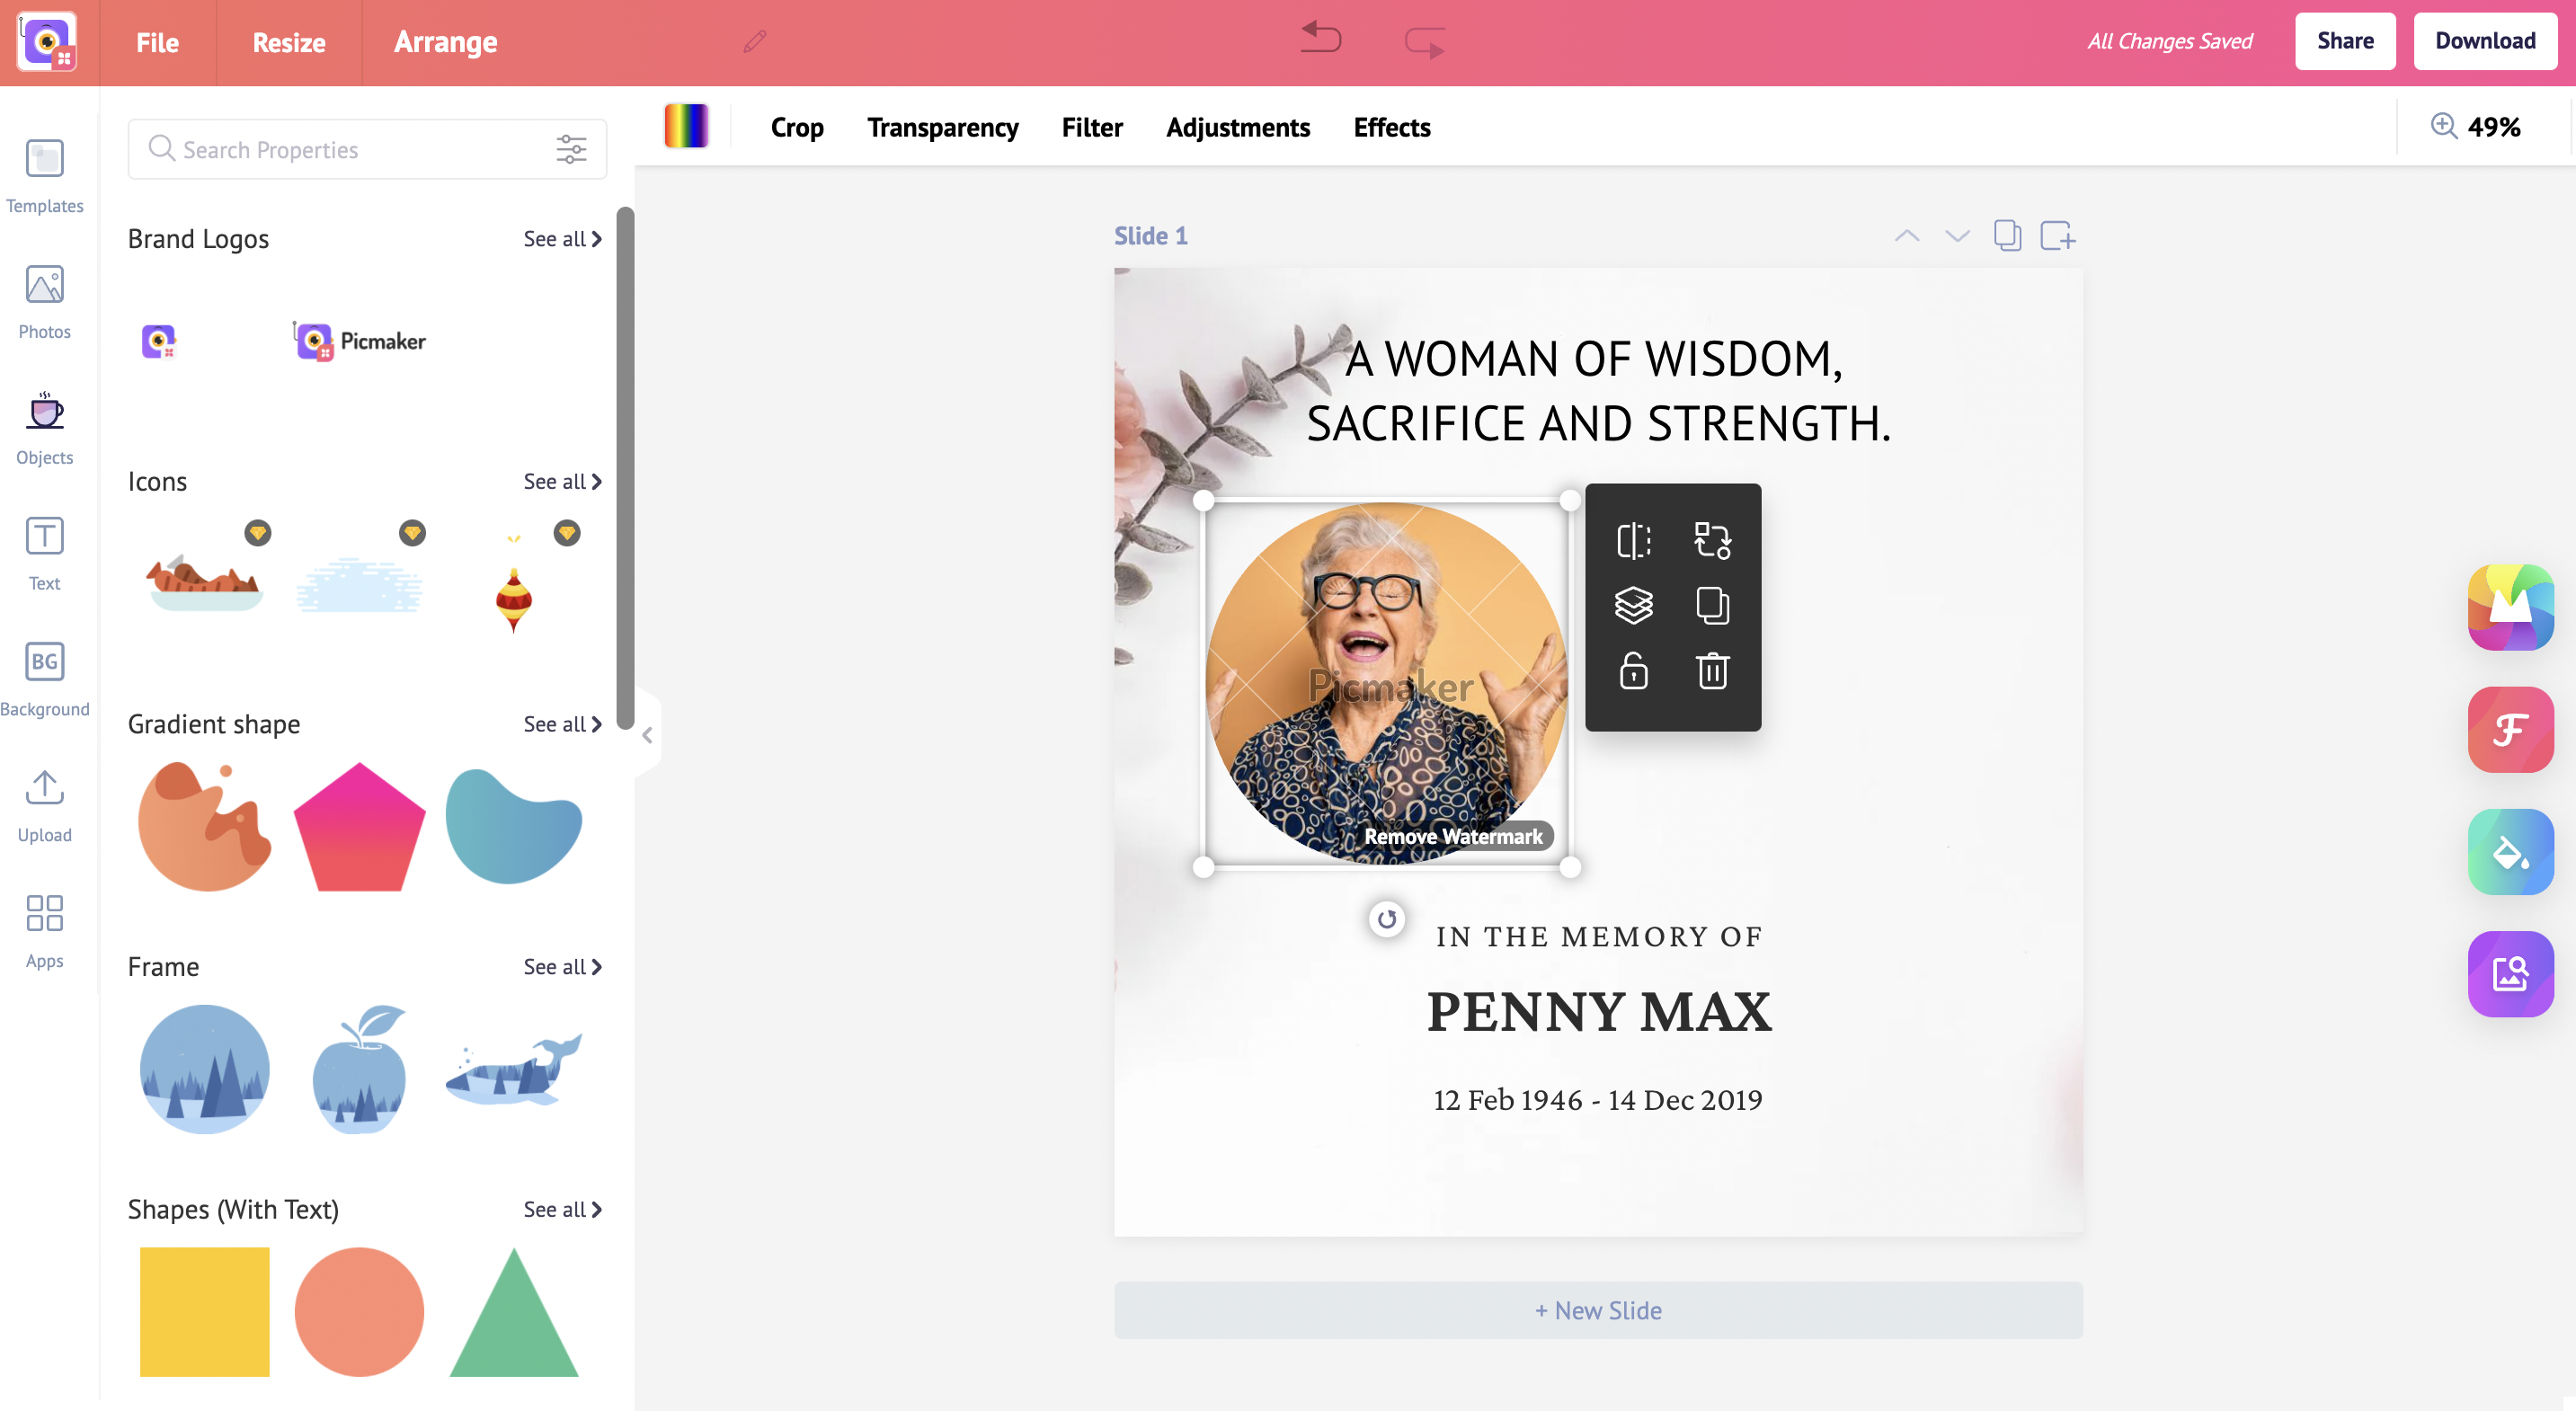
Floating toolbar
Once you drop your object/image into your design, you will get a floating toolbar. Click on the ‘arrangement’ button on the floating toolbar.
You have two sections inside this toolbar. The first section is to change your arrangements and the second section is to change your alignment. Let’s look at the arrangement and then move on to alignment.
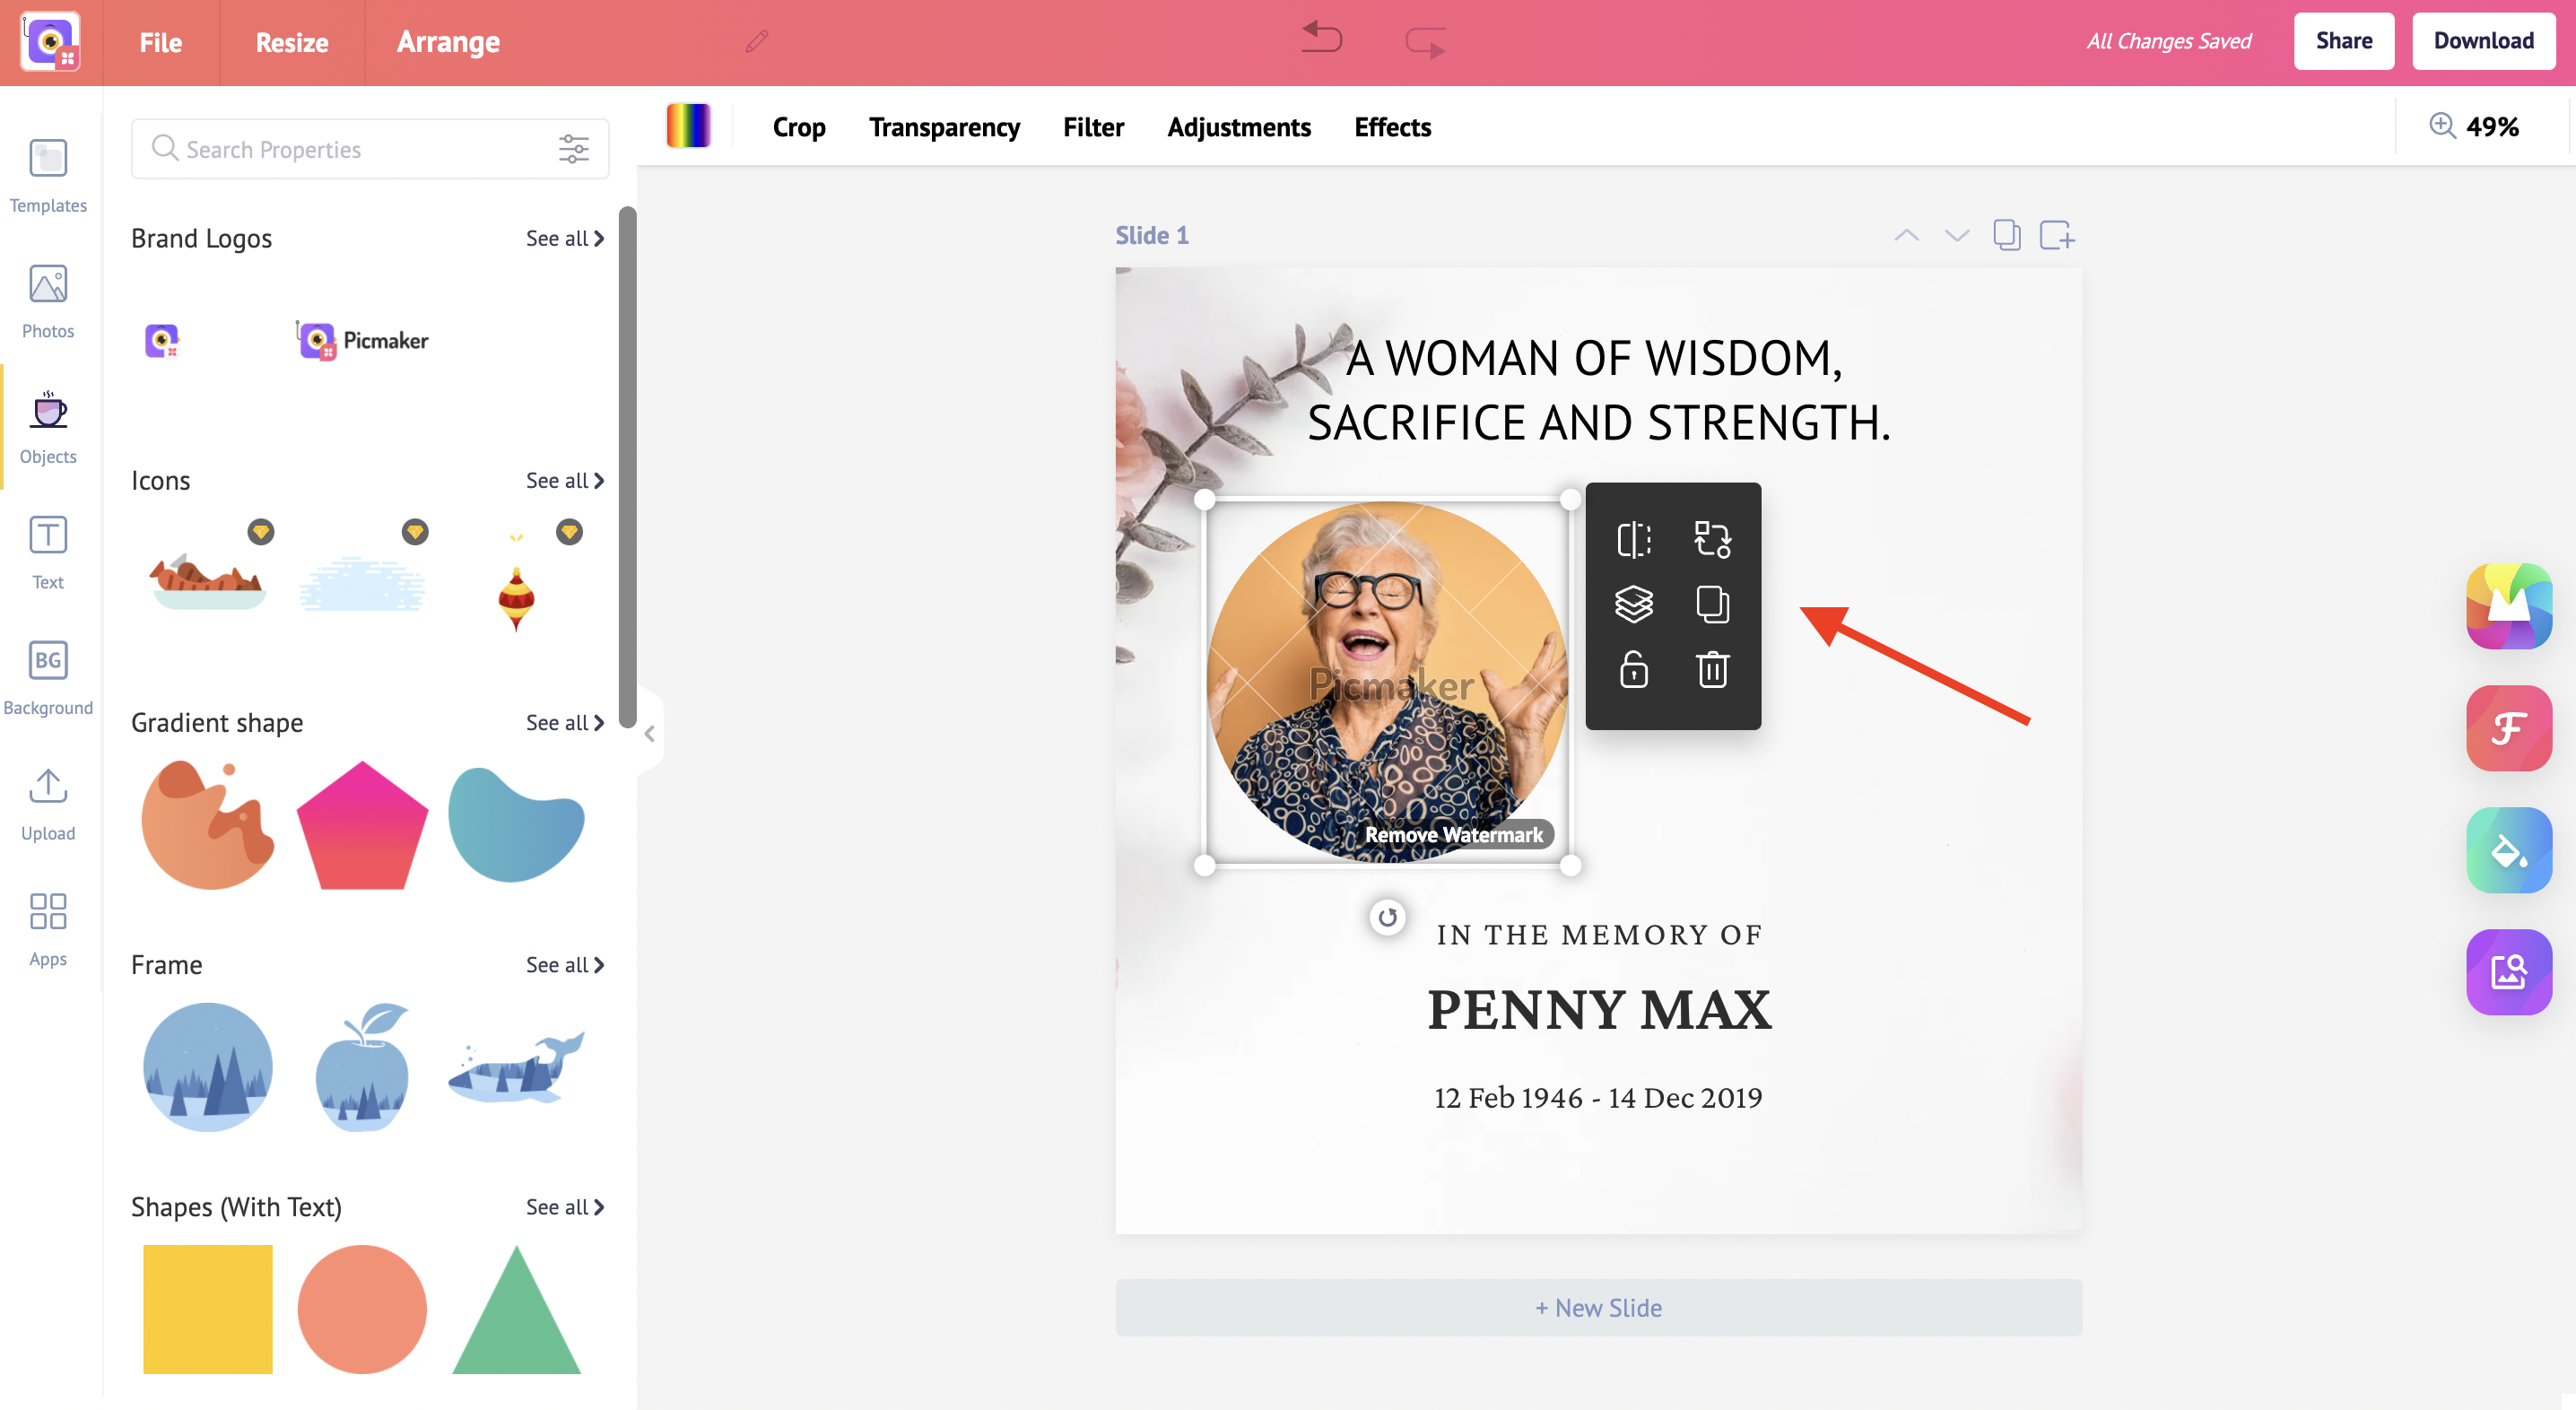
Arrangements
You have four options under arrangements. Listed below are the four options and how they will help you
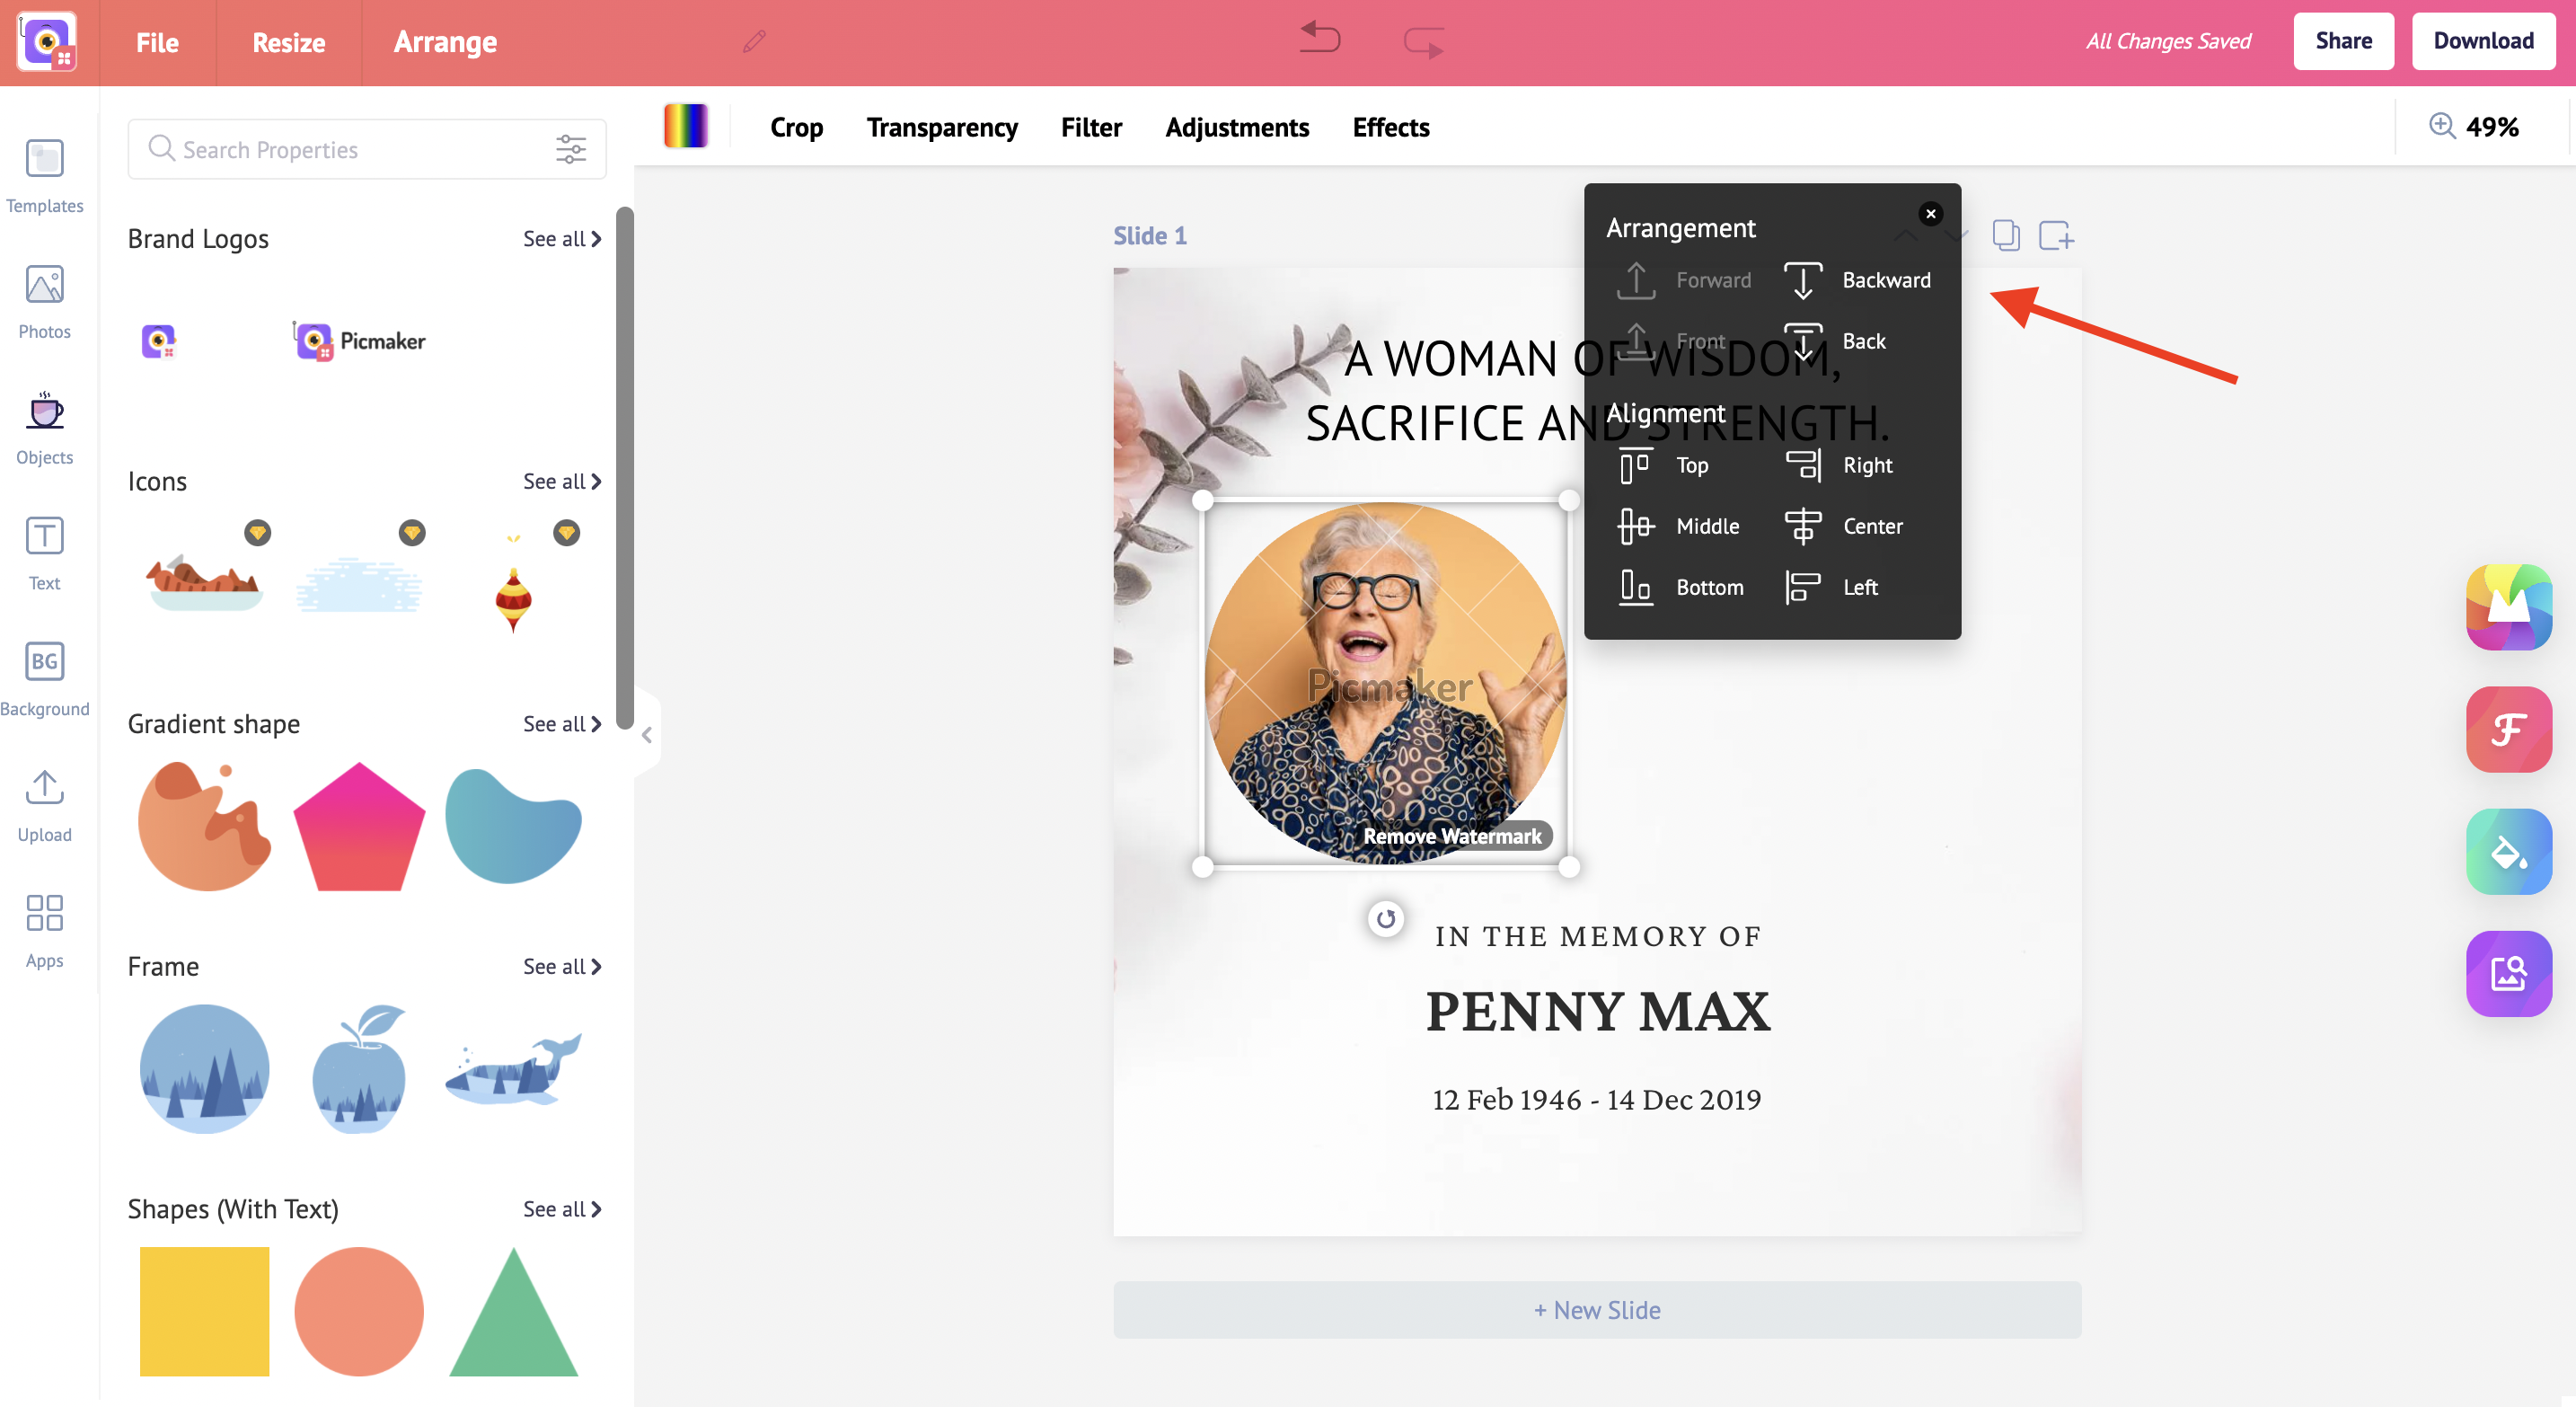
Forward: Moves the object before the next element on your design. You can click it multiple times to move your object/ image in front of multiple object/ images.
Front: Moves your image/object to the first layer in one click.
Backward: Pulls the object before below the previous element on your design. You can click it multiple times to move your object/ image behind the object/ images.
Back: Moves your image/object to the last layer of your design in one click.
Alignments
You have six options under alignment. Listed below are the six options and how they can help you.
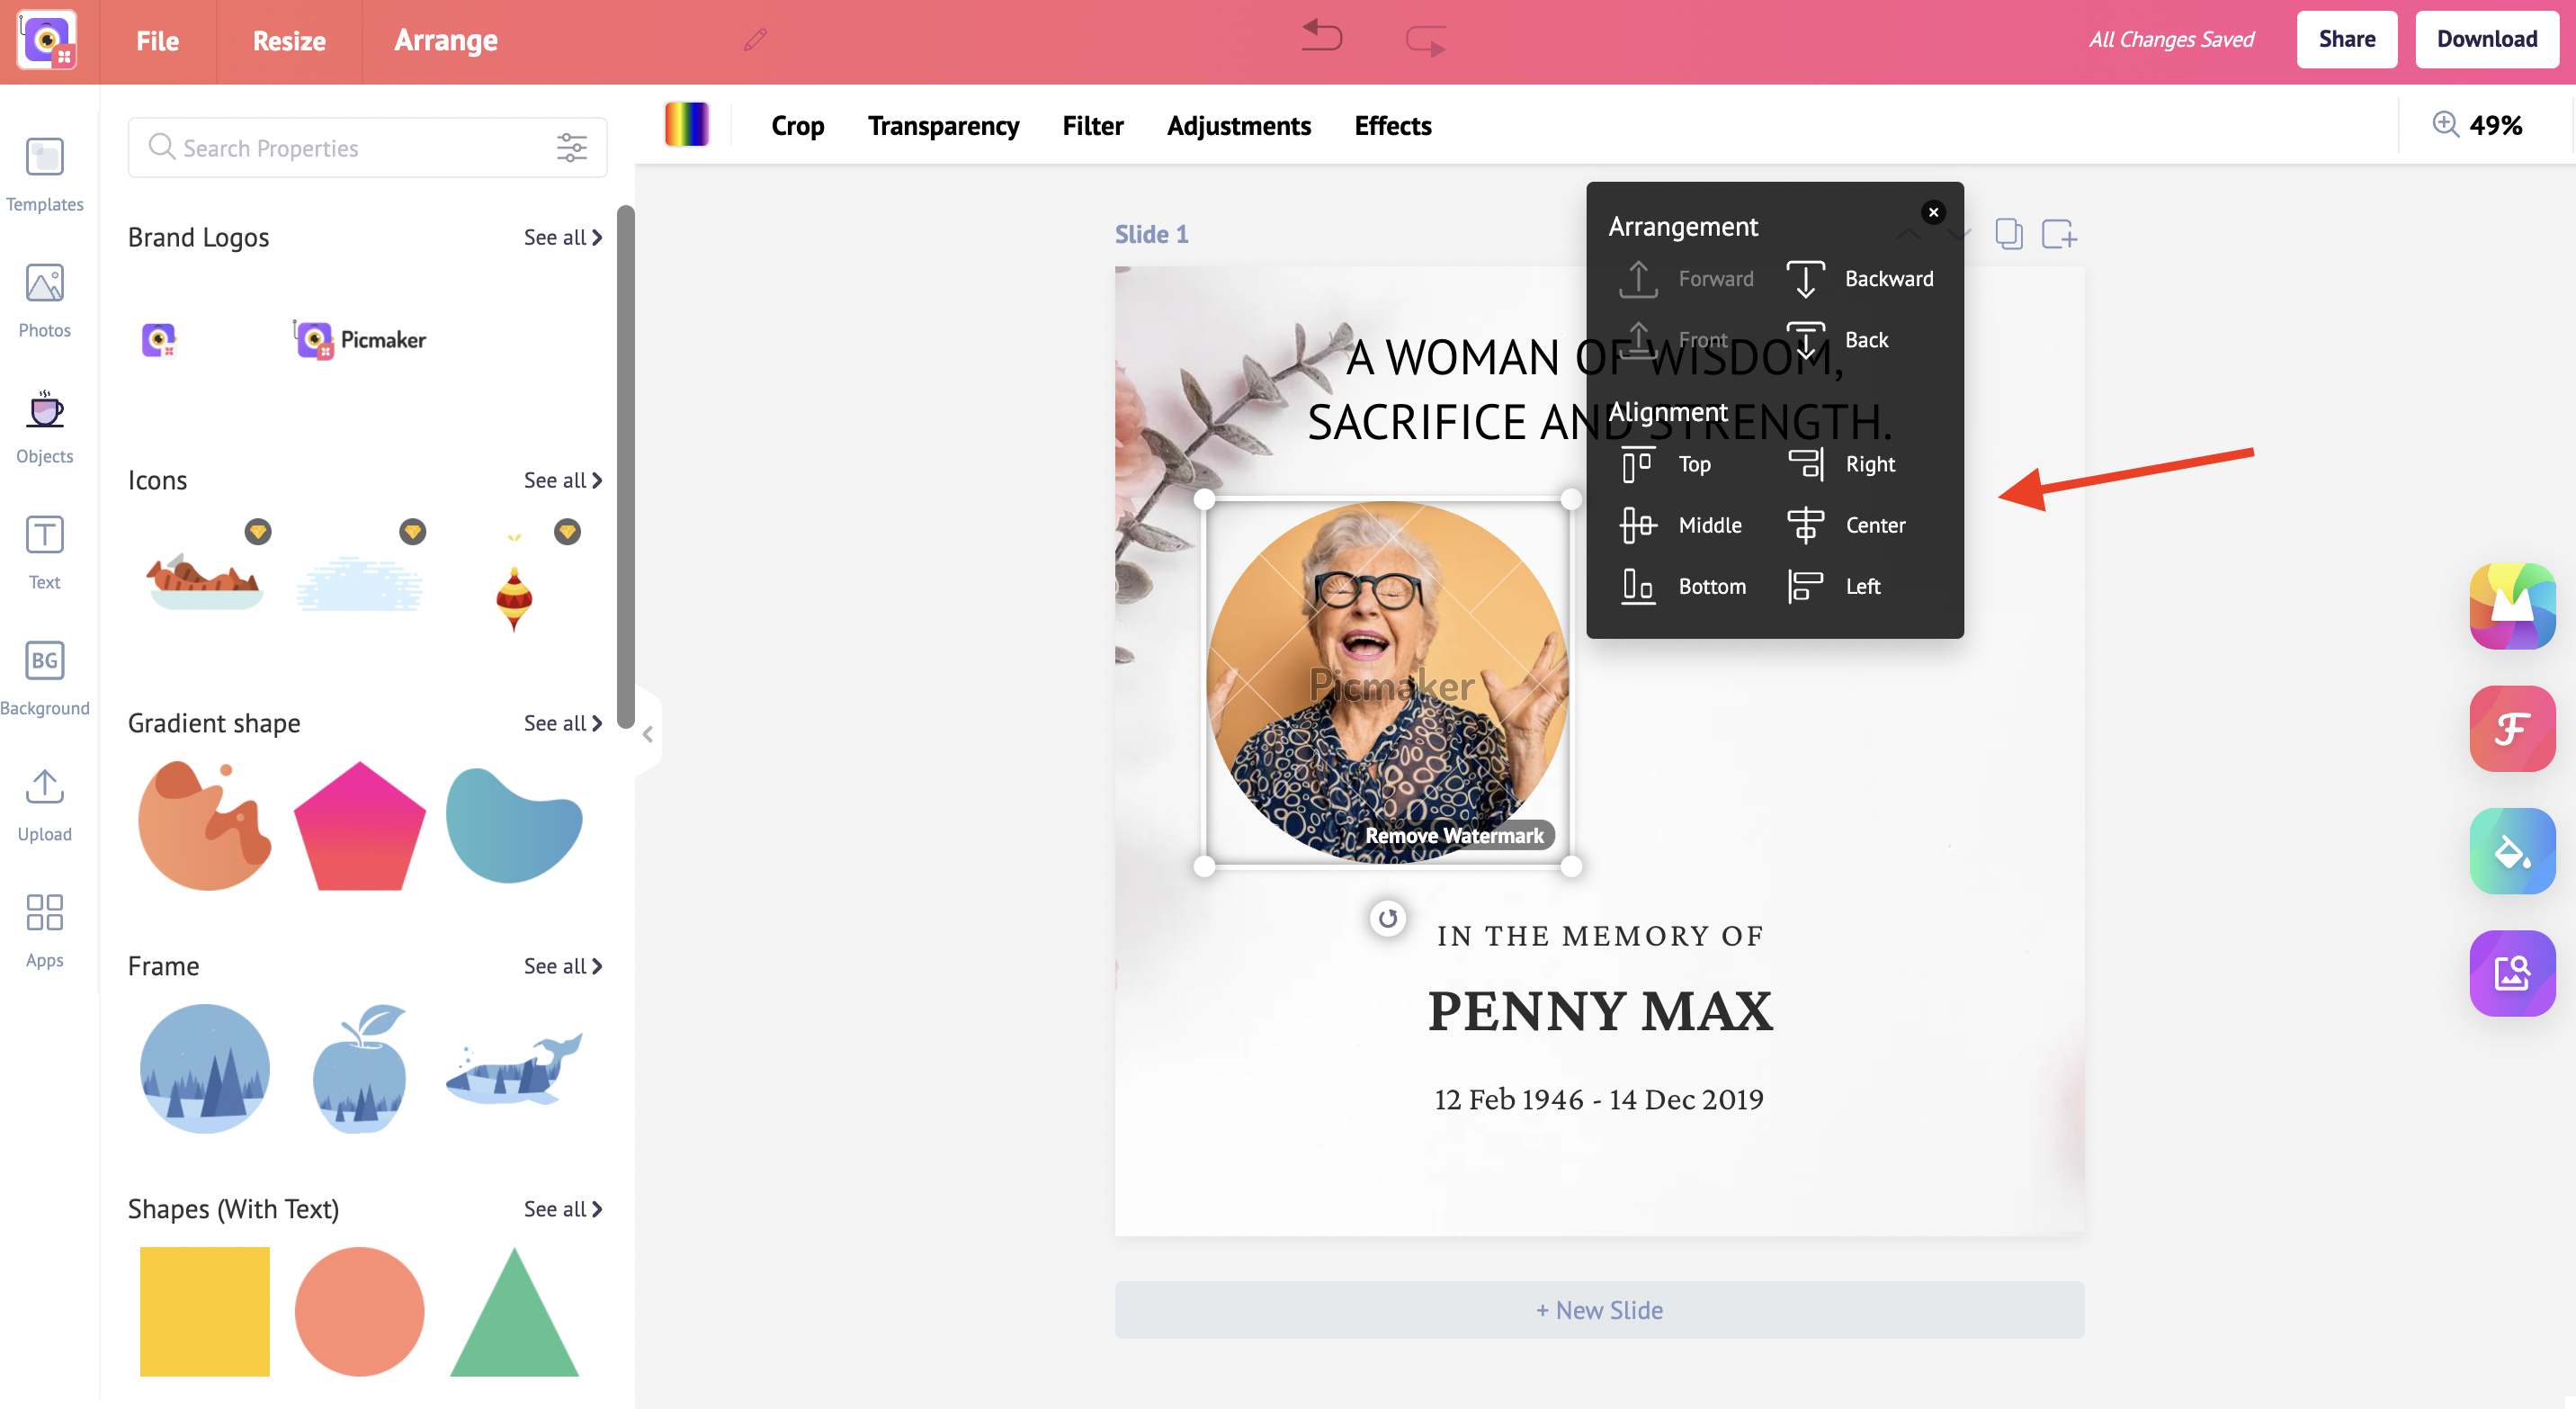
Top: It vertically moves your object/ image to the top portion of your design.
Bottom: It vertically moves your object/ image to the bottom portion of your design.
Middle: It vertically moves your object/ image to the middle portion of your design.
Right: It horizontally moves your object/ image to the right corner of your design.
Left: It horizontally moves your object/ image to the left corner of your design.
Center: It horizontally moves your object/ image to the center of your design.
Check out this page to learn about the more complicated features of your object/image floating toolbar.
We hope this was helpful to you.
Check out the below tutorials

